

Love it or Hate it? Tips For a Natural Contour
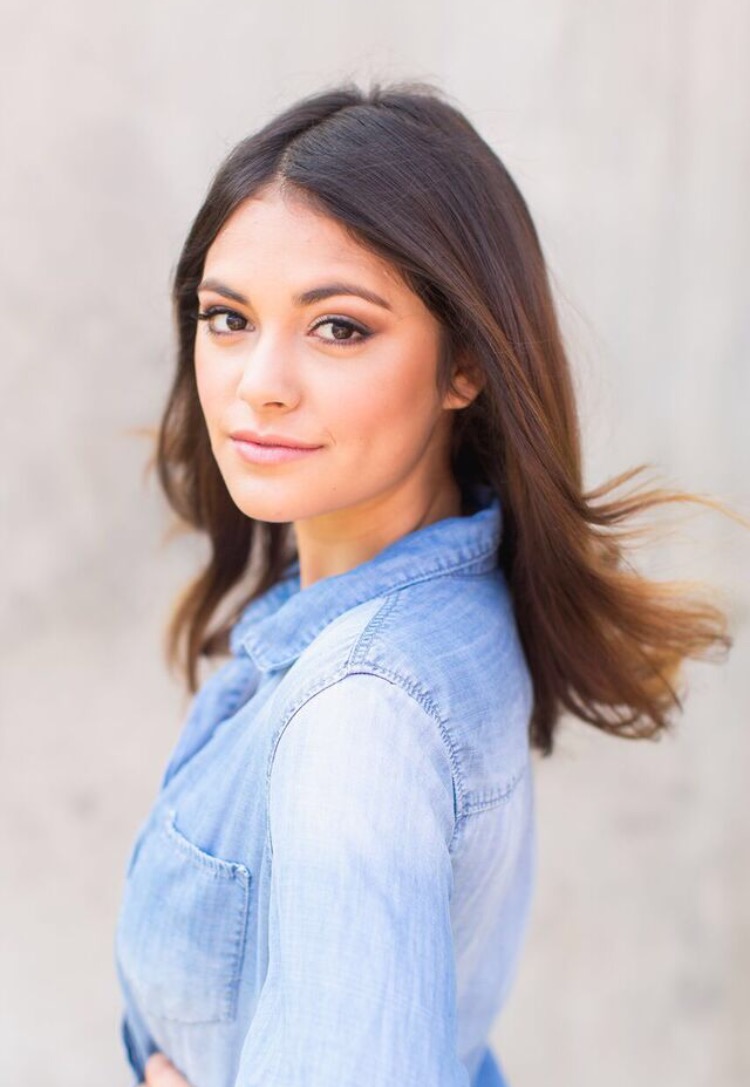
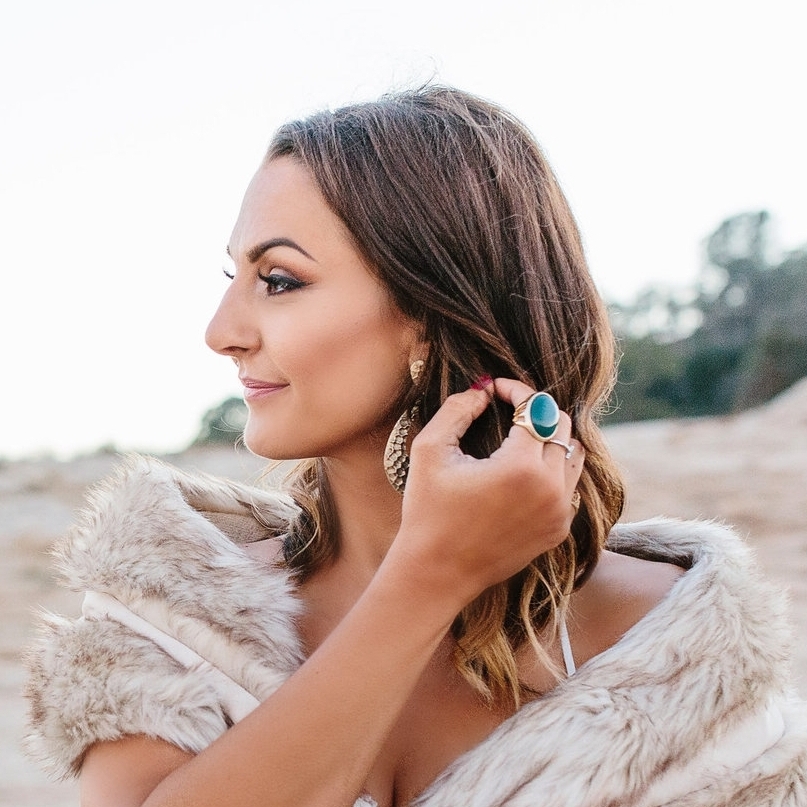
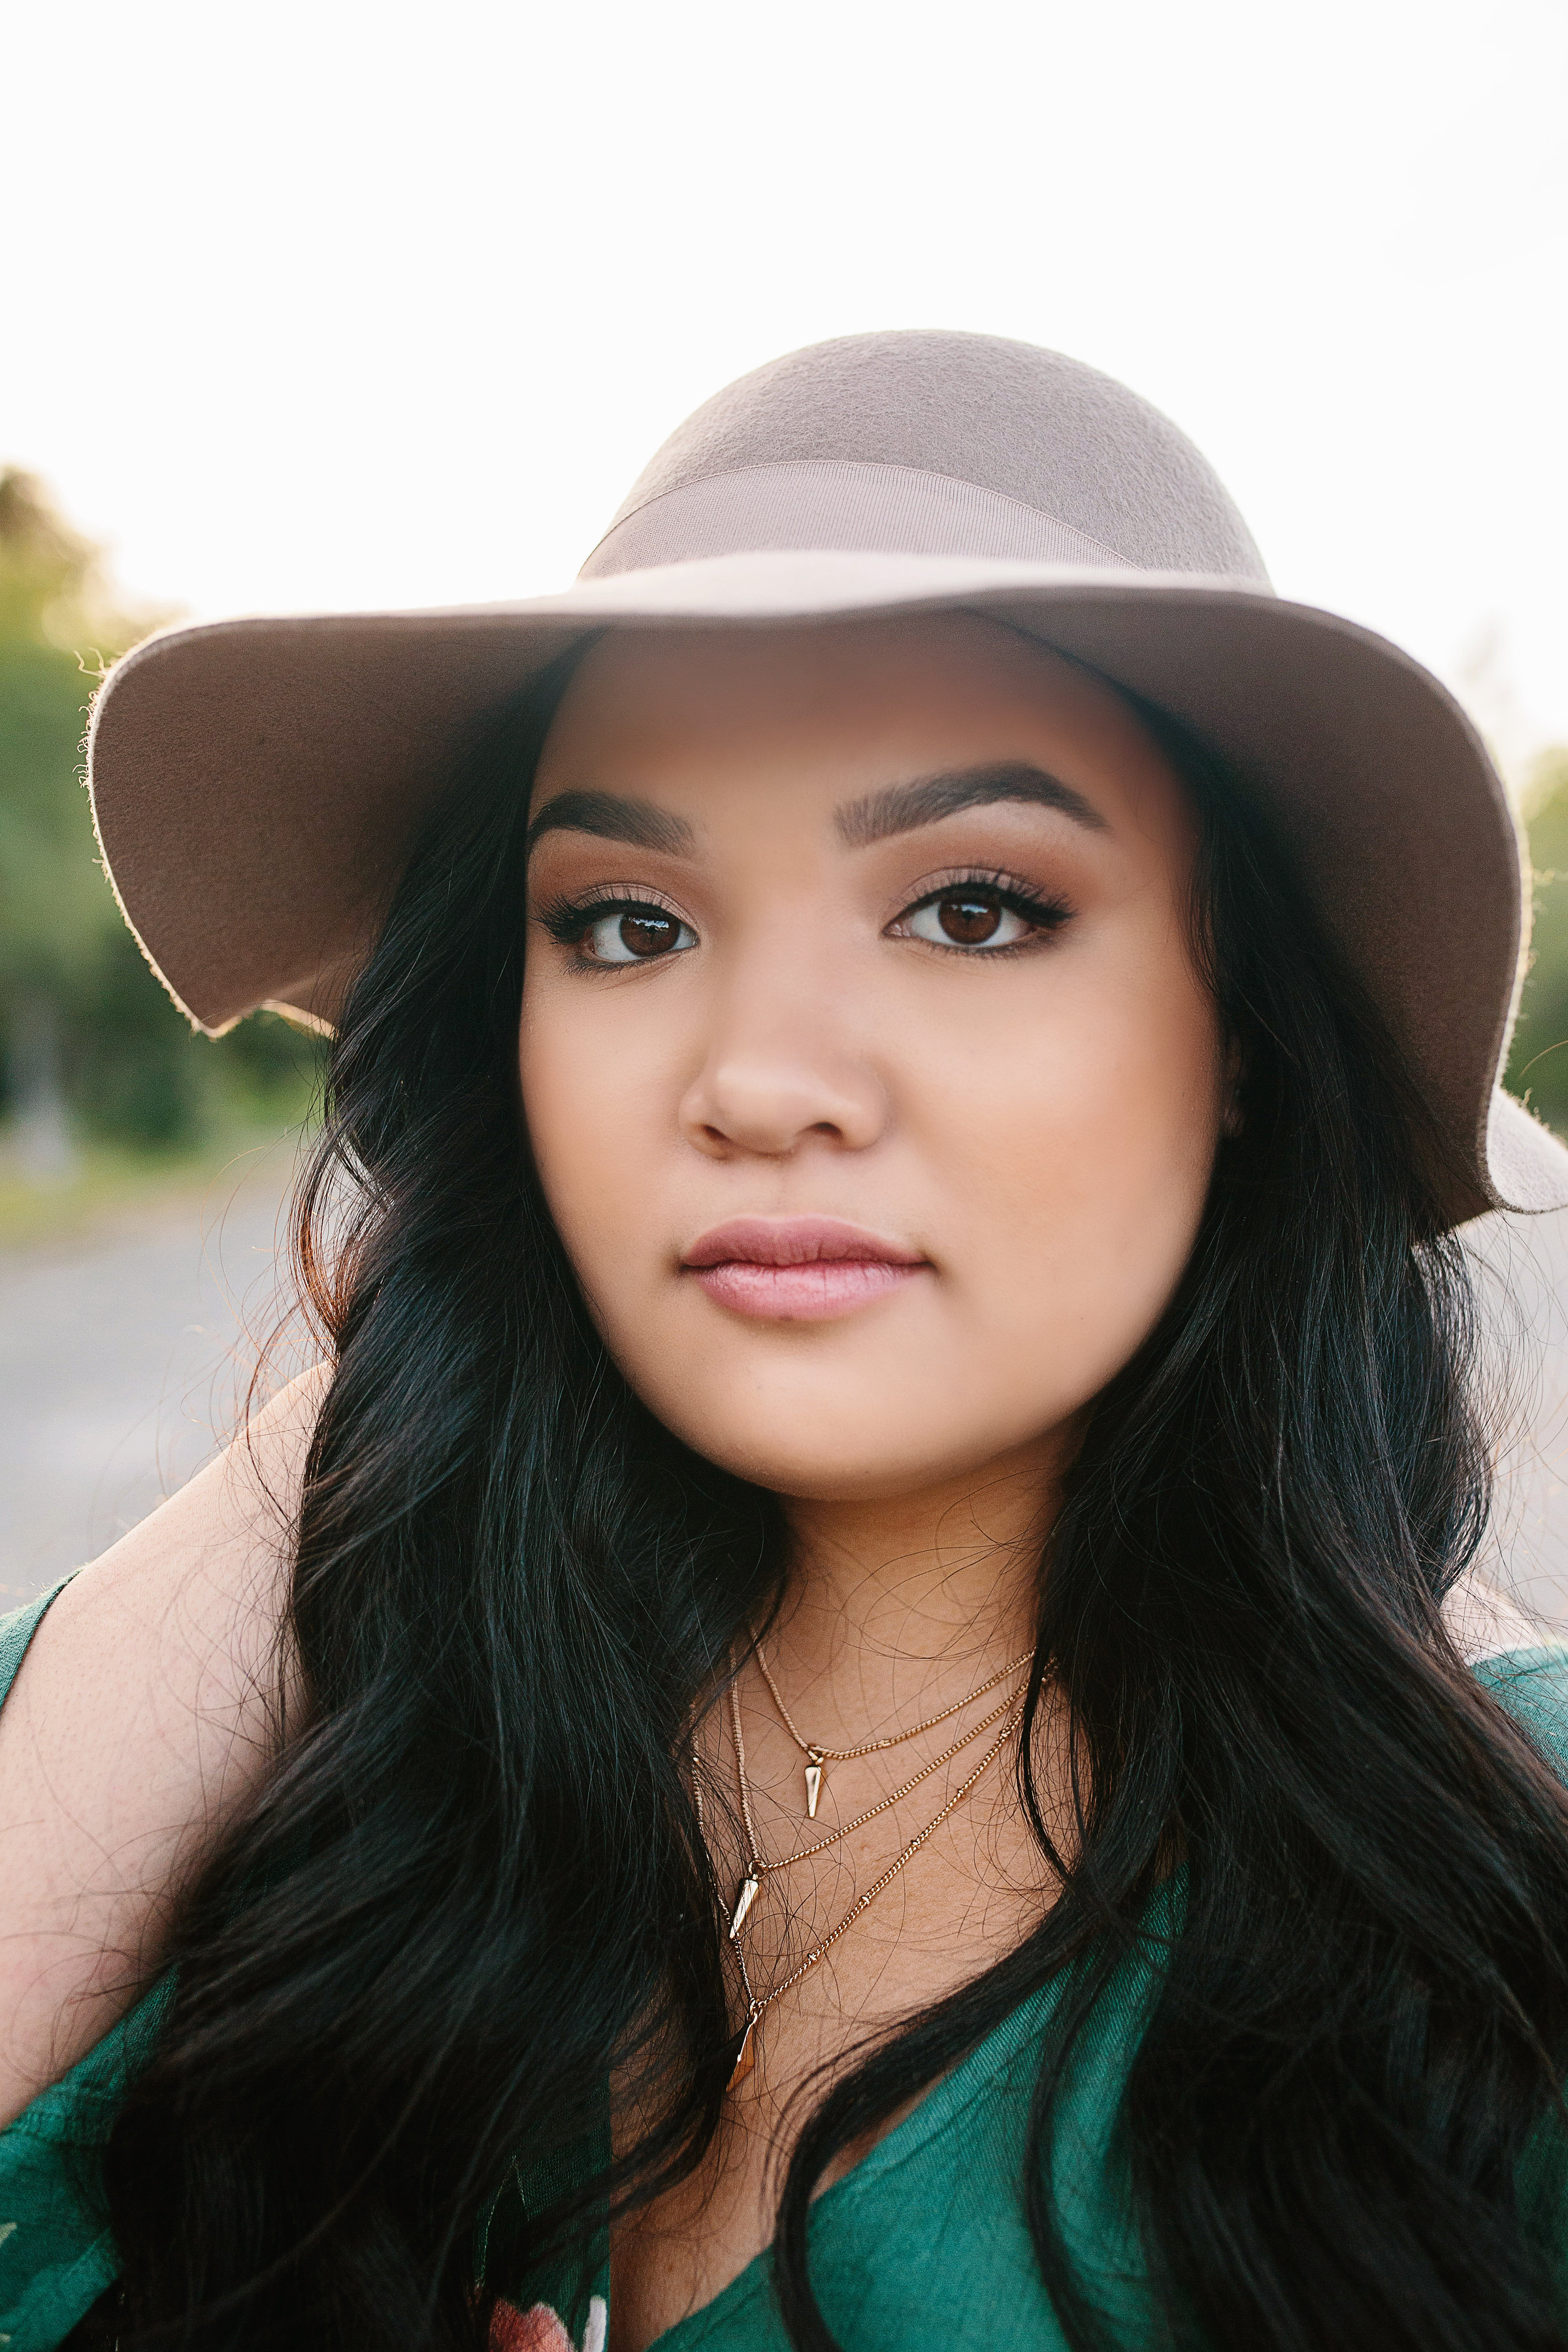
Some people love it, some people hate it. Highlighting and Contouring has become quite the debate among makeup artists. I personally love accentuating my client's features with a natural version of these techniques. My clients hire me to make them look and feel gorgeous. They are especially wanting this to transfer over into their photos, so I feel I must create dimension with the makeup. I always tell them that I might be applying more makeup than they usually do, but that it's also important to feel comfortable in person. I find the trick to doing this is some light highlight, contour, and lots of blending.
I would love to take you through 10 steps that I take to create this beautiful look. If you like things more dramatic, that's fine by me! You will just want to add a bit more pigment to the areas I take you through and/or do a bit less blending.
- Prep Skin: Be sure to always start your face makeup application by applying face lotion, under eye cream, and a primer.
- Foundation: I like to start by applying liquid foundation all over the face. This allows me to see where any extra coverage is actually needed with my concealer.
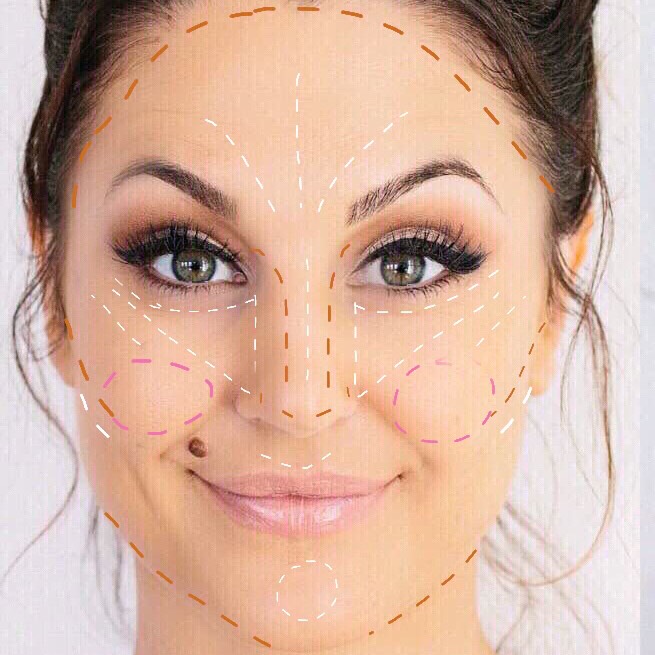
- Concealer: After I apply my foundation, I will see if there are any areas that will need a bit more coverage. I like getting this extra coverage by dabbing a bit of concealer to the specific area. After all blemishes are covered I will then draw a triangle shape going down along the nose, up at an angle on the cheekbone and covering any dark circles that might be lurking under the eyes. I like this shade to be a tad lighter than the foundation color, giving a natural brightening affect.
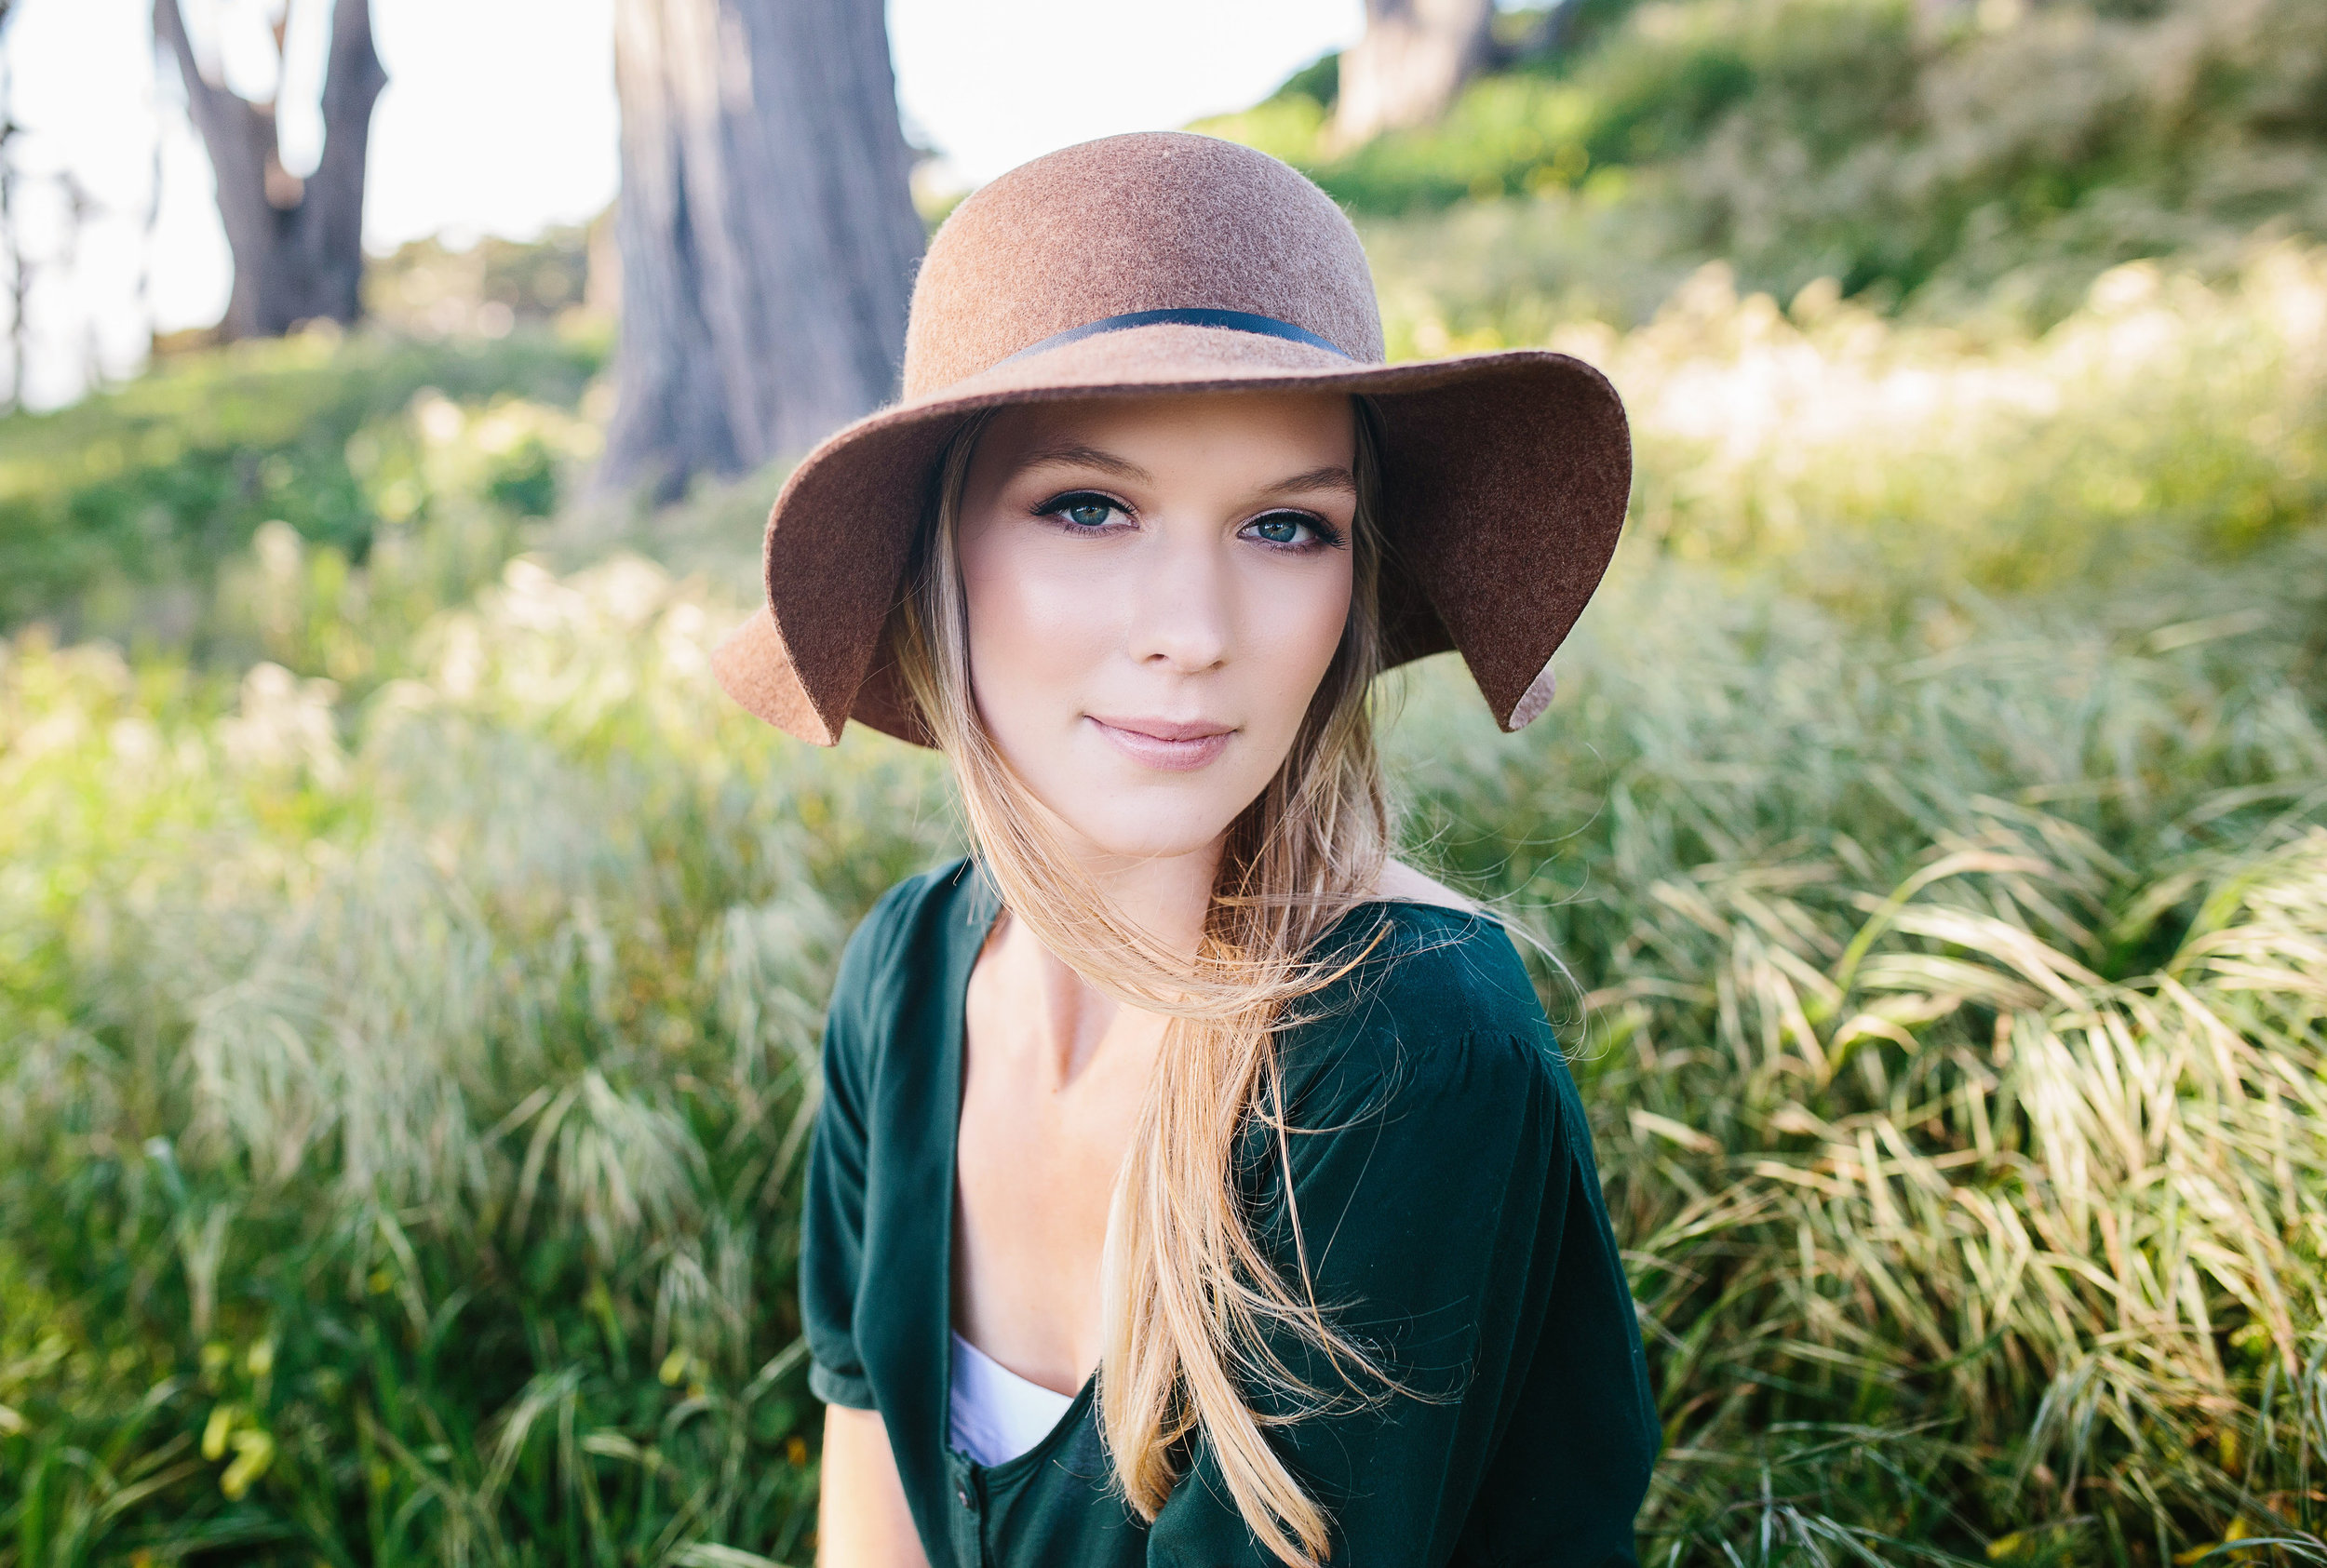
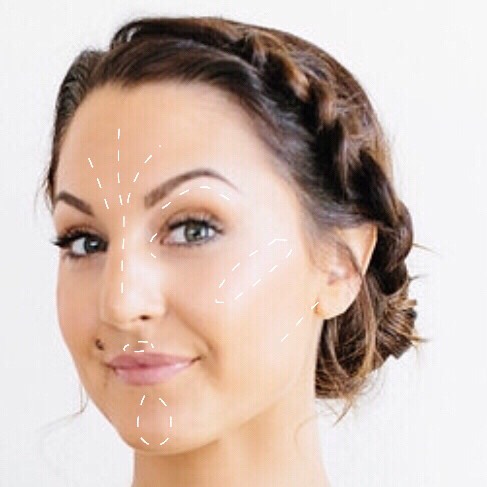
- Cream Highlighter: Once the concealer is in place, I add even more strategic brightening. I will take a cream or liquid highlighter and place it in the inner corner of eye, top of cheekbone, center of nose, above the upper lip, center of the chin and forehead, and also under where I will be placing the cheekbone contour. I am still a fan of MAC Prep + Prime highlighting pens, but a lighter concealer will also do the trick.
- Setting Powder: I prefer using a loose translucent powder to "set" the liquids and creams. If you are hoping for fuller coverage, you might consider adding a powder foundation on areas of the face that are not highlighted with this step. I love Tarte's Amazon Clay Foundation. This will allow your liquids and creams to hold in place as well as leave an even surface for the colored powders you'll be adding. This will prevent any "blotchy" areas. TIP: If you prefer using a cream contour, be sure to complete that step before applying a setting powder.
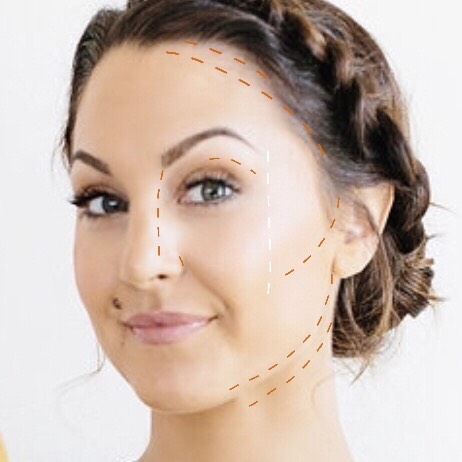
- Contour: Be sure you are using a non shimmer, cool tone. (We will warm up with bronzer next). I also recommend not bringing your cheekbone contour color too far in towards the center of the face. A good rule of thumb that I follow is not going past or too far past the tail end of your brow. I like adding this cool-tone color to any part of the face/neck that you want to create a natural shadow. When I am contouring my clients I will do this under the cheekbones, the temples, top of forehead, under jawline, each side of the nose as well as the natural crease of the eyelid. I always recommend starting with a little color because you can always add more if needed.
- Bronzer: Time to warm up the face with a bit of bronzer. I don't know about you, but I love me some bronzer! Don't worry, I don't go over board, but it helps give any dull look some life. For placement I like to tell my clients to imagine that they are shadowing an "E" and a "3" on the sides of the face. That will help you visualize the outer areas that need to be bronzed. I also add a touch down the neck and on the decolletage.
- Spritz: At this point I like to spritz the entire face with a good amount of setting spray. I like Urban Decay's All Nighter Long Lasting Makeup spray. Not only will this help your makeup last even longer, it sets the stage for the next step- shimmer highlight!
- Shimmer Highlight: I love to add this shimmering powder to the tip of the cheekbones and brow bone. It gives such a soft illusion in all different lighting. I also like the way it melts into the skin when applying it to a damp surface. I like Laura Gellar's Baked Gelato Swirl Illuminator in Gilded Honey
- Blush: Smile! Add some blush to the apples of your cheeks and slightly along the cheekbone for a finishing touch of color.

How confident are you when it comes to highlight and contour? Did these tips help you? Is there anything more specific you would care to know? If so, comment below!

